 October
06
October
06
Tags
Saxophone Palm Key Risers [how to make good ones]
Saxophones have traditionally been designed for people with little girl hands. Most saxophonists that I know find that their left hand palm keys do not come up as high as they would like and eventually find some way to compensate for them. While annoying, this is done for good reason. If all saxophones were made to suit my hand size, those with smaller hands literally wouldn’t be able to reach the front keys! I just purchased a P. Mauriat 86-UL tenor, which I am really happy with. As you can see from the photo below, the palm keys come up significantly short for my hands. This is the case with nearly all saxophones, even my MK VII, which was designed in part by Fred Hemke and has gigantic keys comes up quite short.
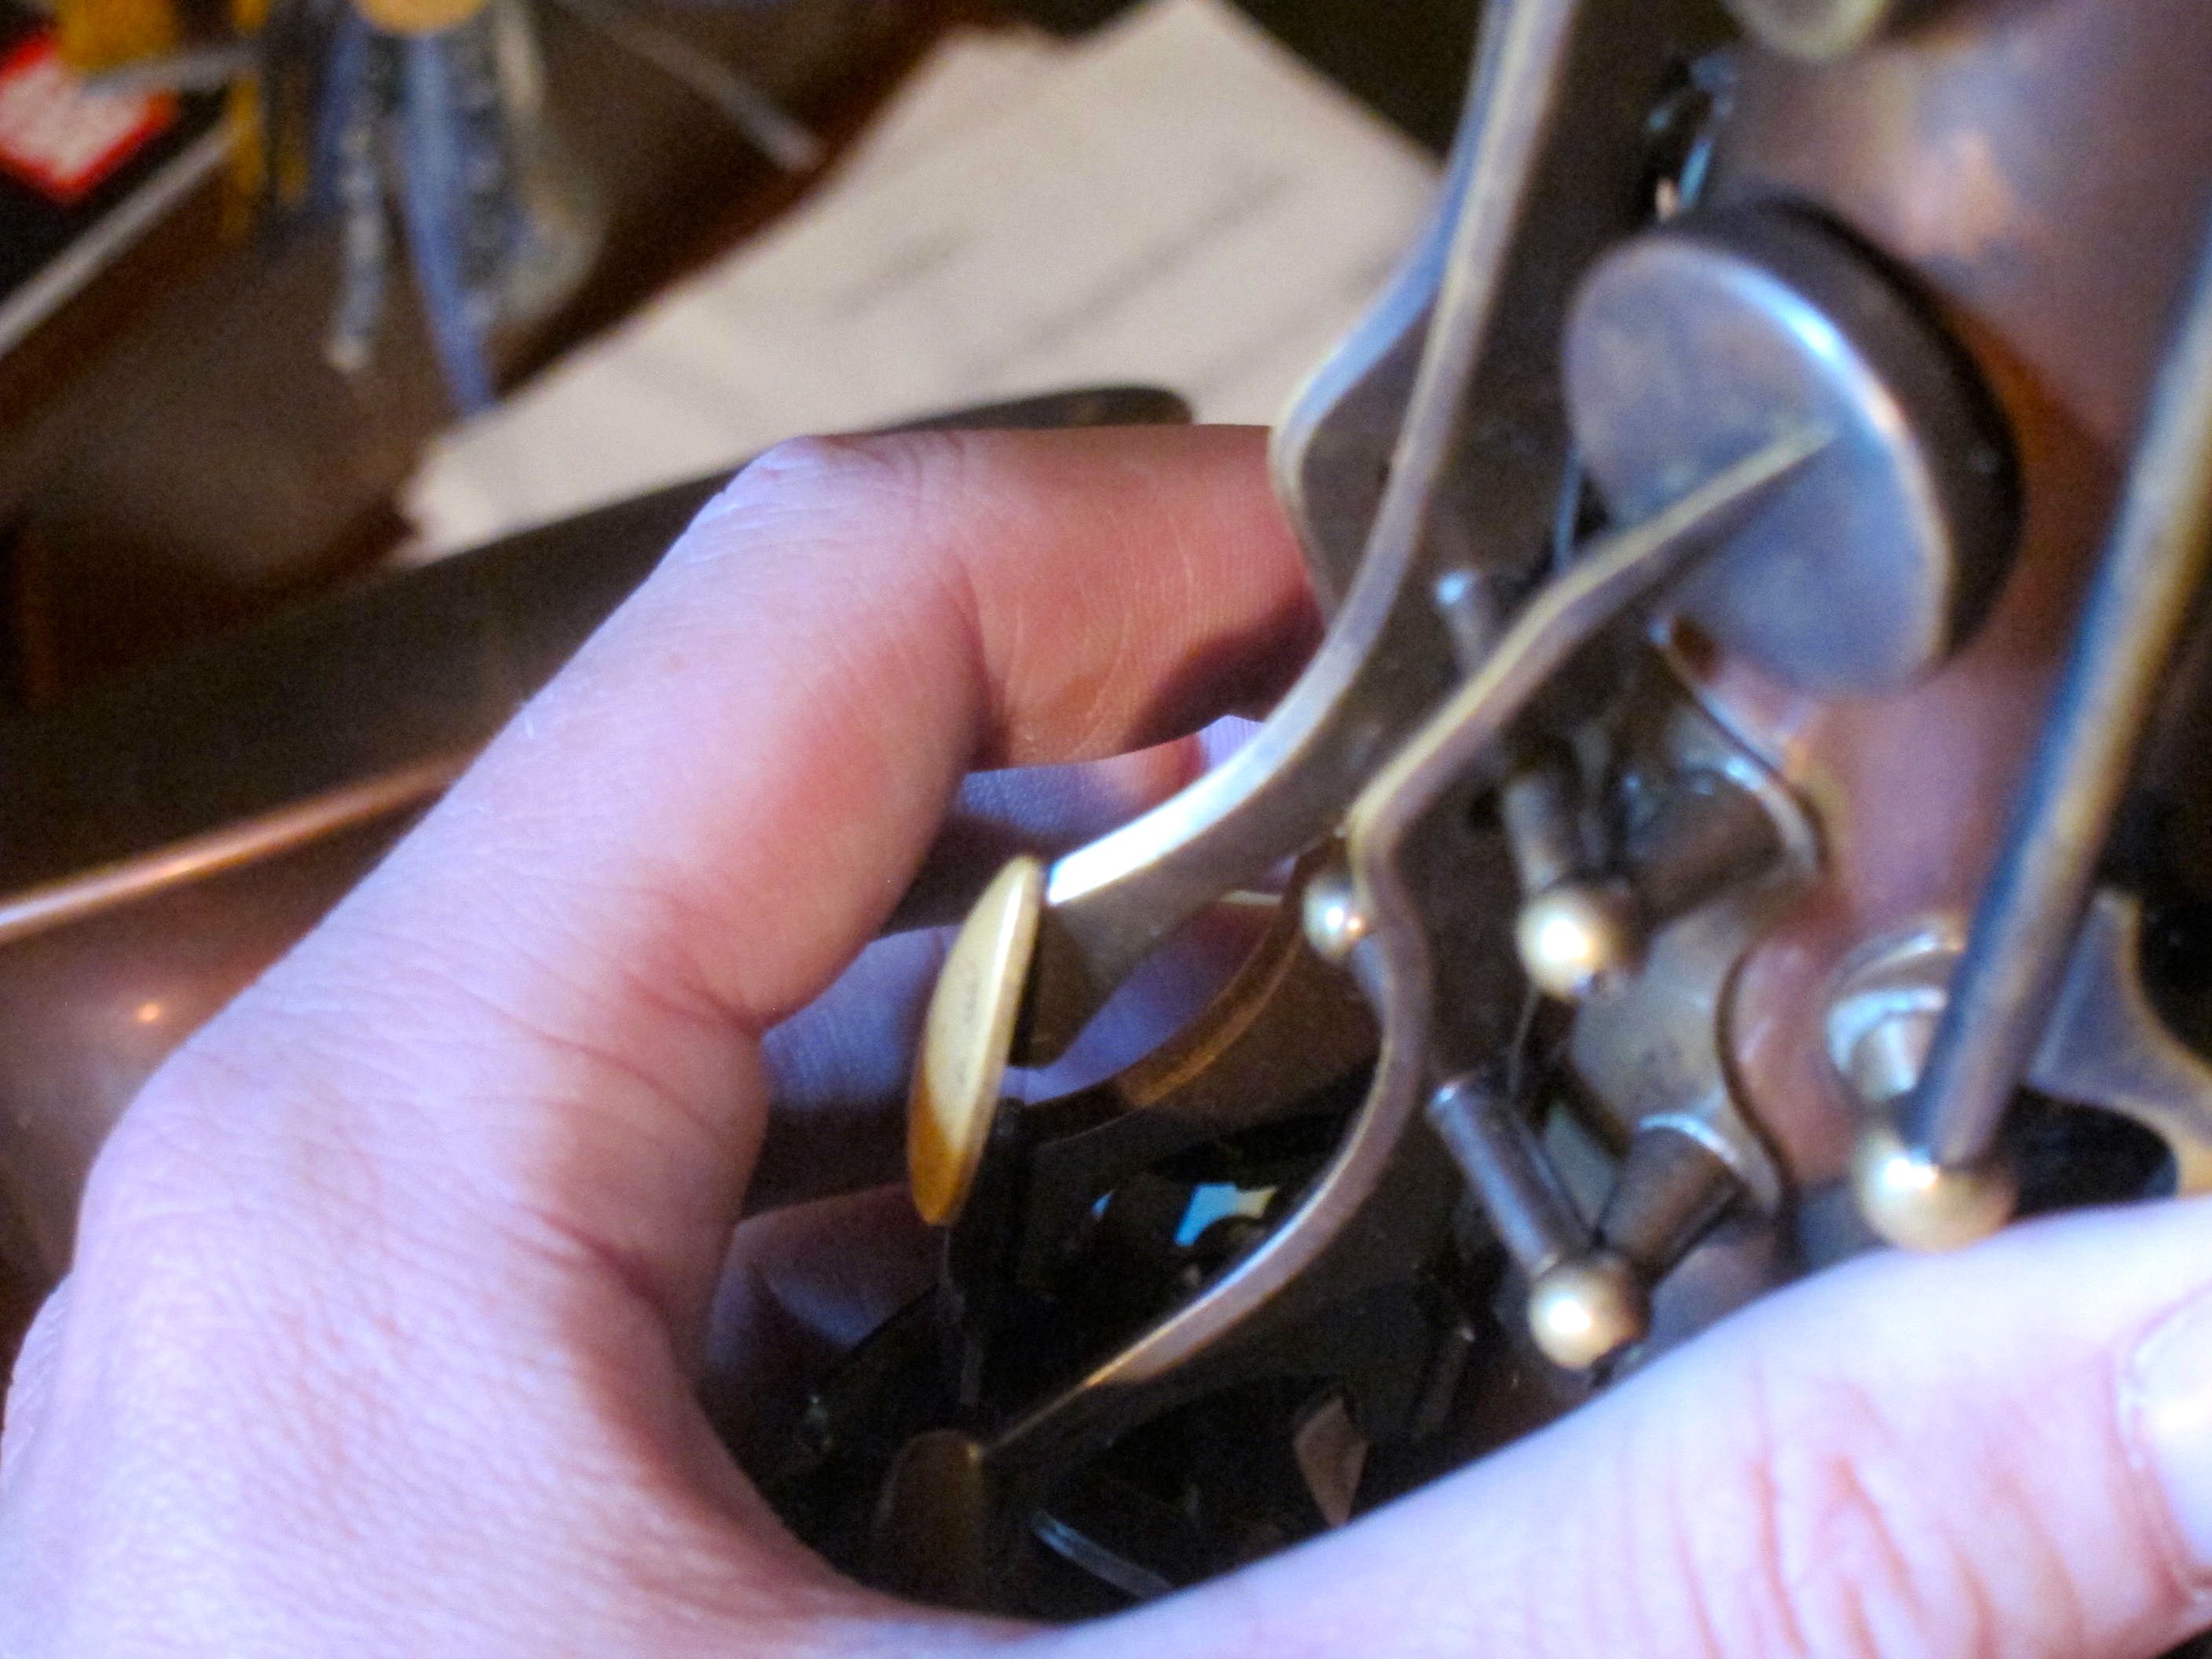
When the hand is in proper position, the palm keys are quite far from the palm.
The problem with having this large gap is that it can make playing the horn uncomfortable and make it difficult to cleanly execute passages in the upper register. When playing with this sort of set up, most players will either collapse their palm, rendering their fingers relatively useless, or pull their fingers way out of position, making it had to get back the the front keys quickly.
Luckily, this is an easy fix. There are palm key risers that are available for purchase as well as a number of methods which can be used to build up the palm keys. I prefer to use the most permanent method, which involves building them up with an epoxy putty. I’ve done this on all of my horns and have been pleased with the result on each one of them. I like this solution because:
- It’s permanent so you’ll never have to redo it!
- The material has a nice feel in your hand, smooth but with a little bit of texture so it’s easy to move around yet still feels secure.
- This material doesn’t compress or change shape over time.
So, here’s how to do it:
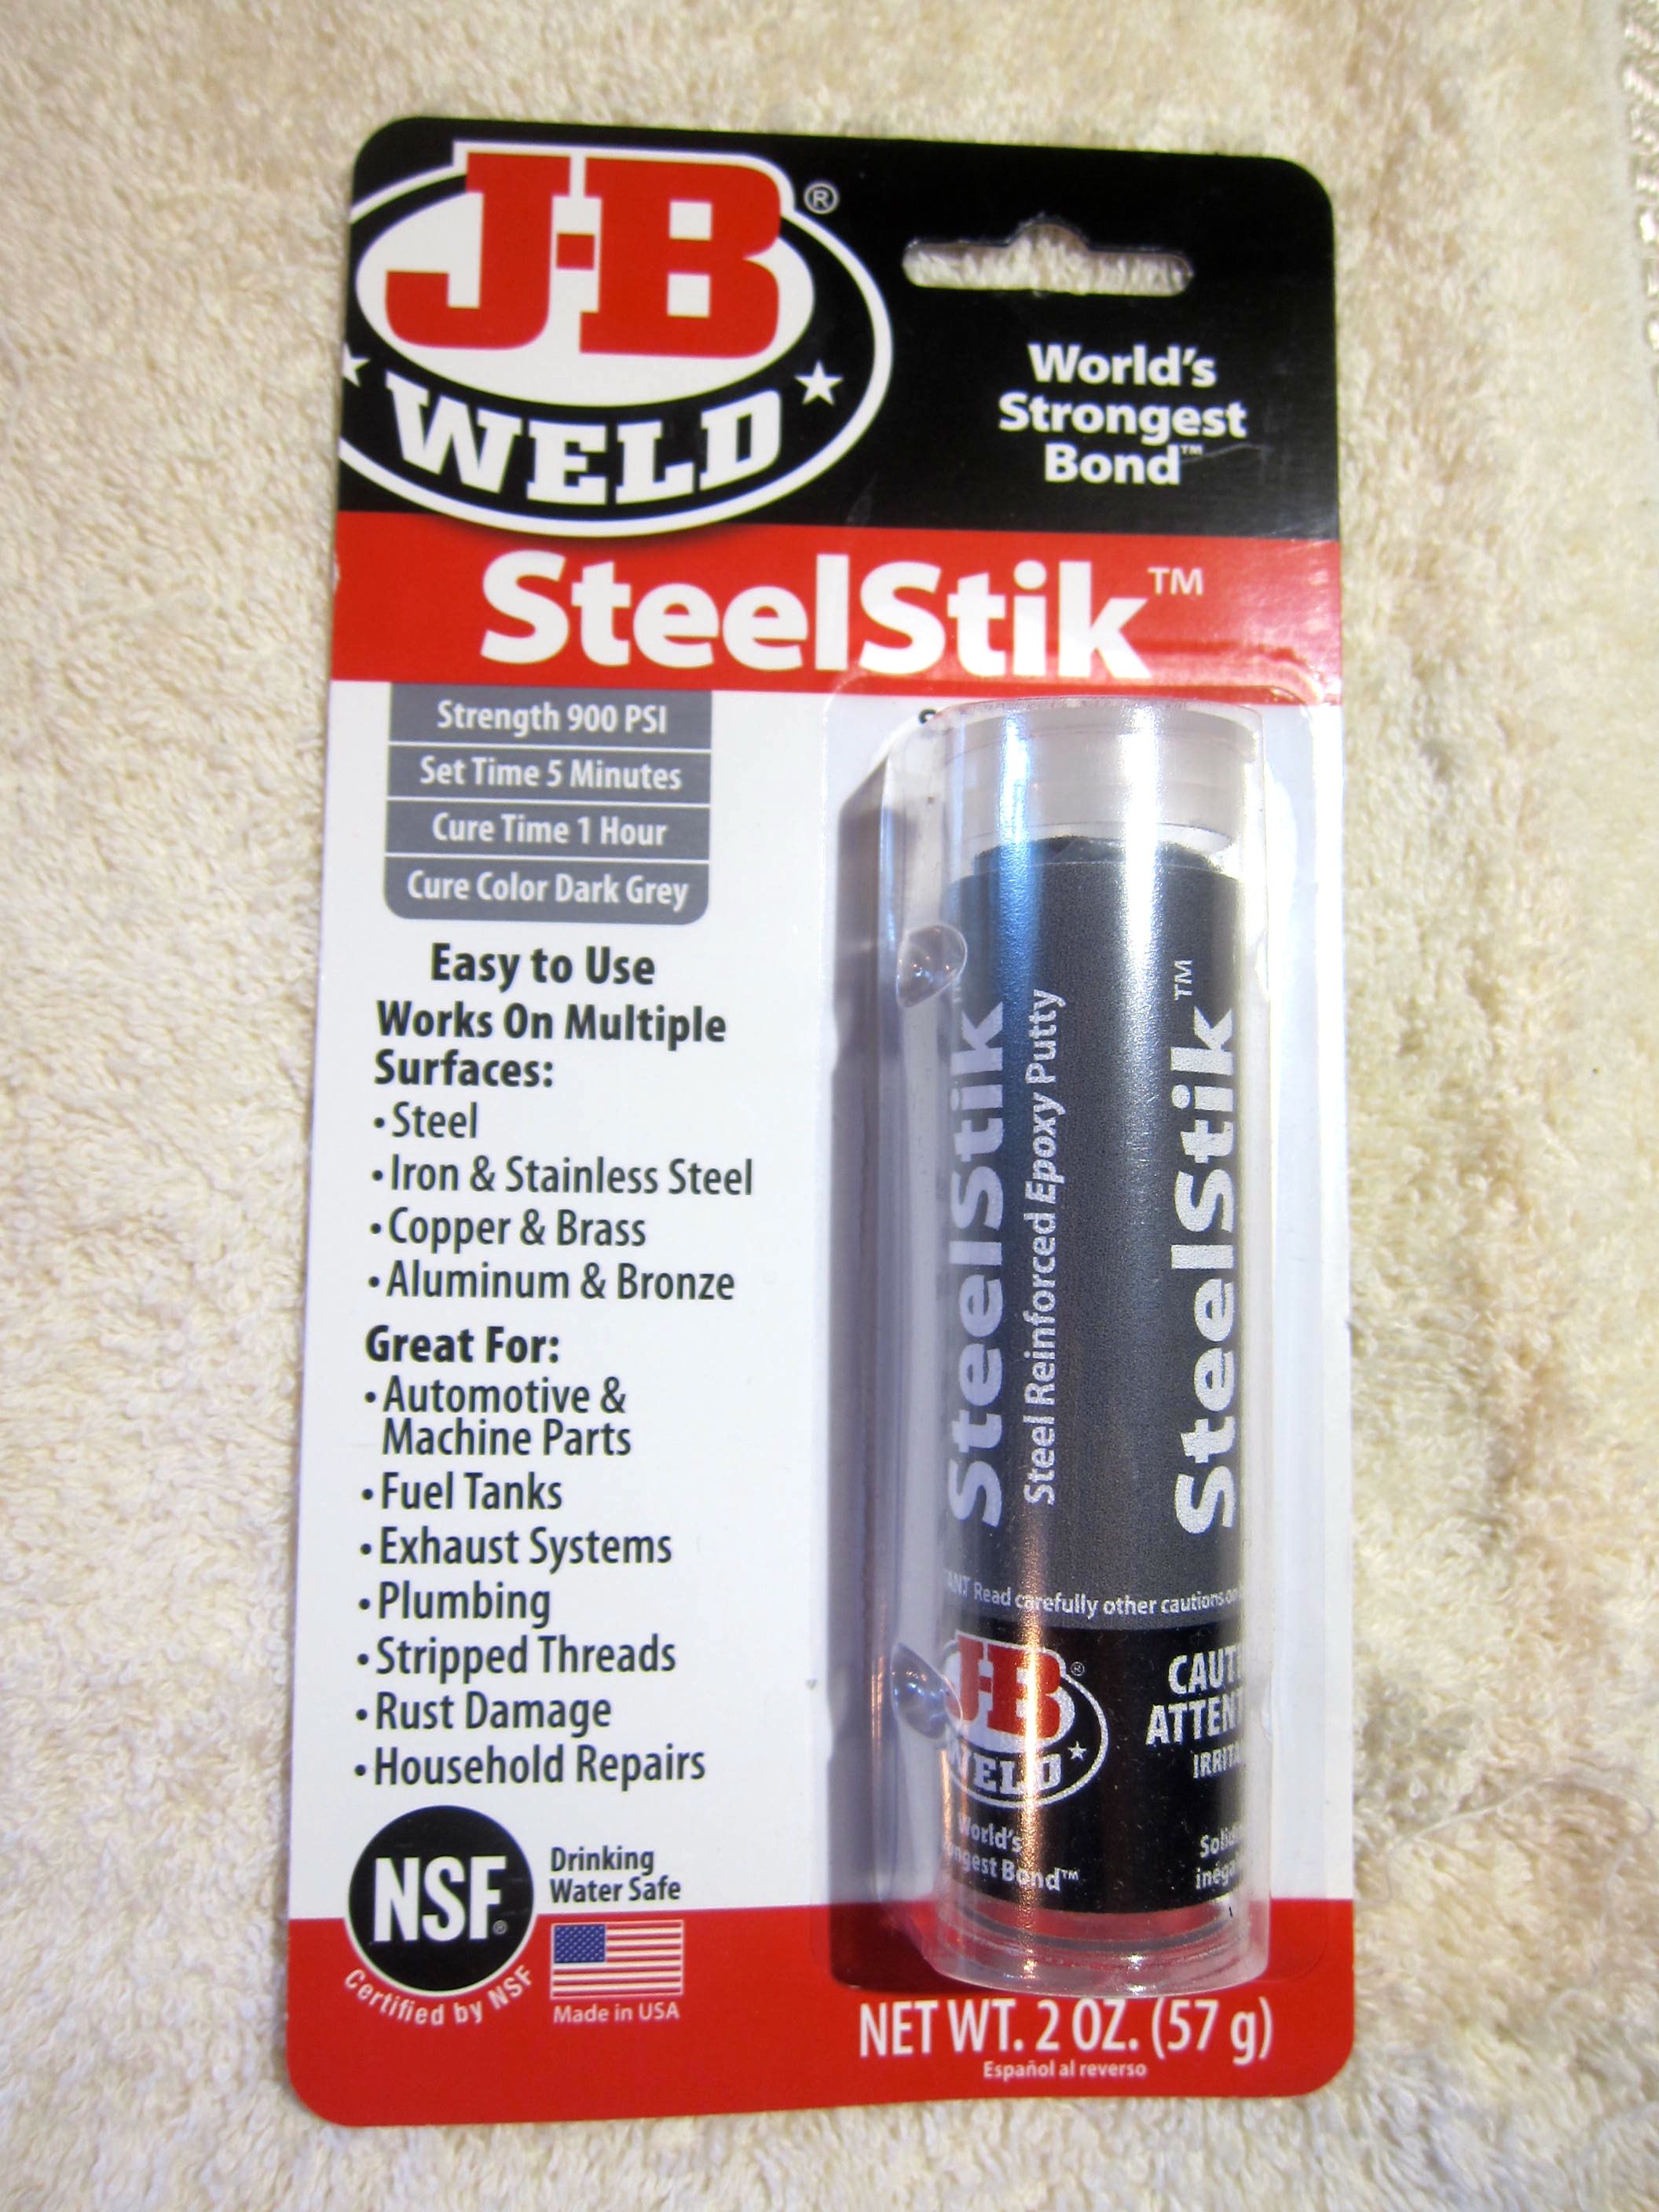
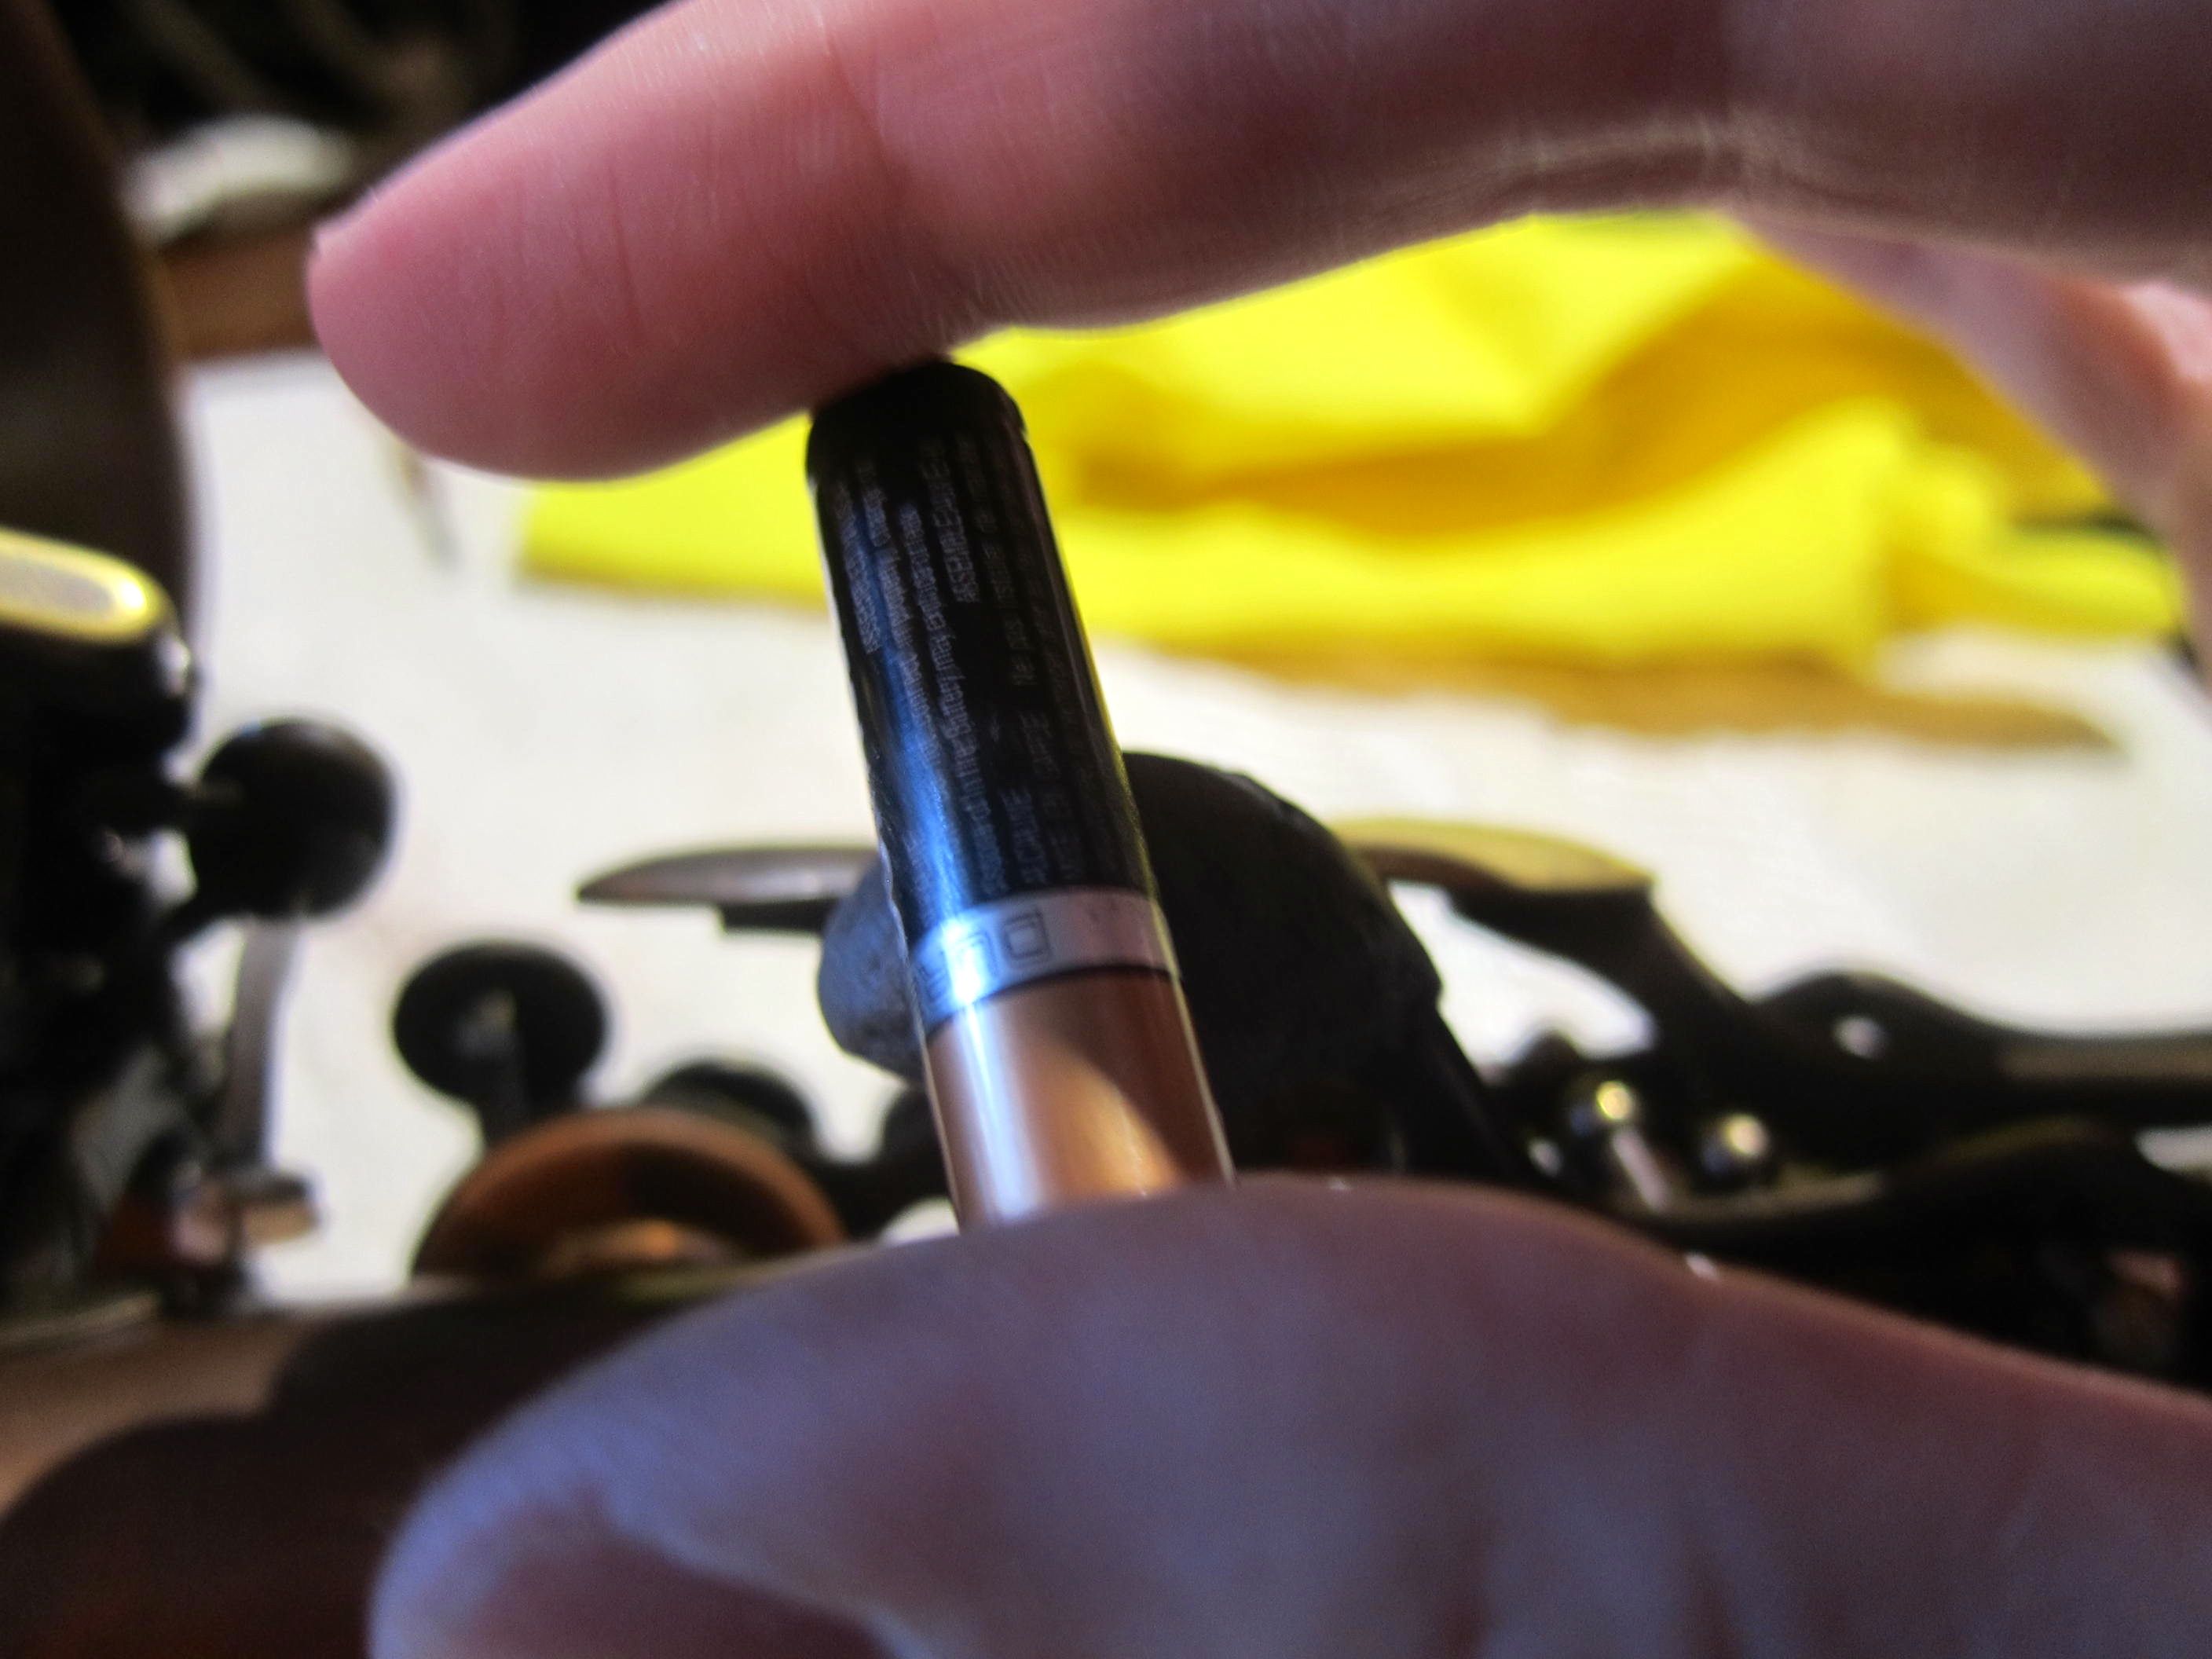
Step one. Get the stuff. In the past i’ve used a substance called Fast Steel. This time I just used the generic version available at the hardware store around the corner.
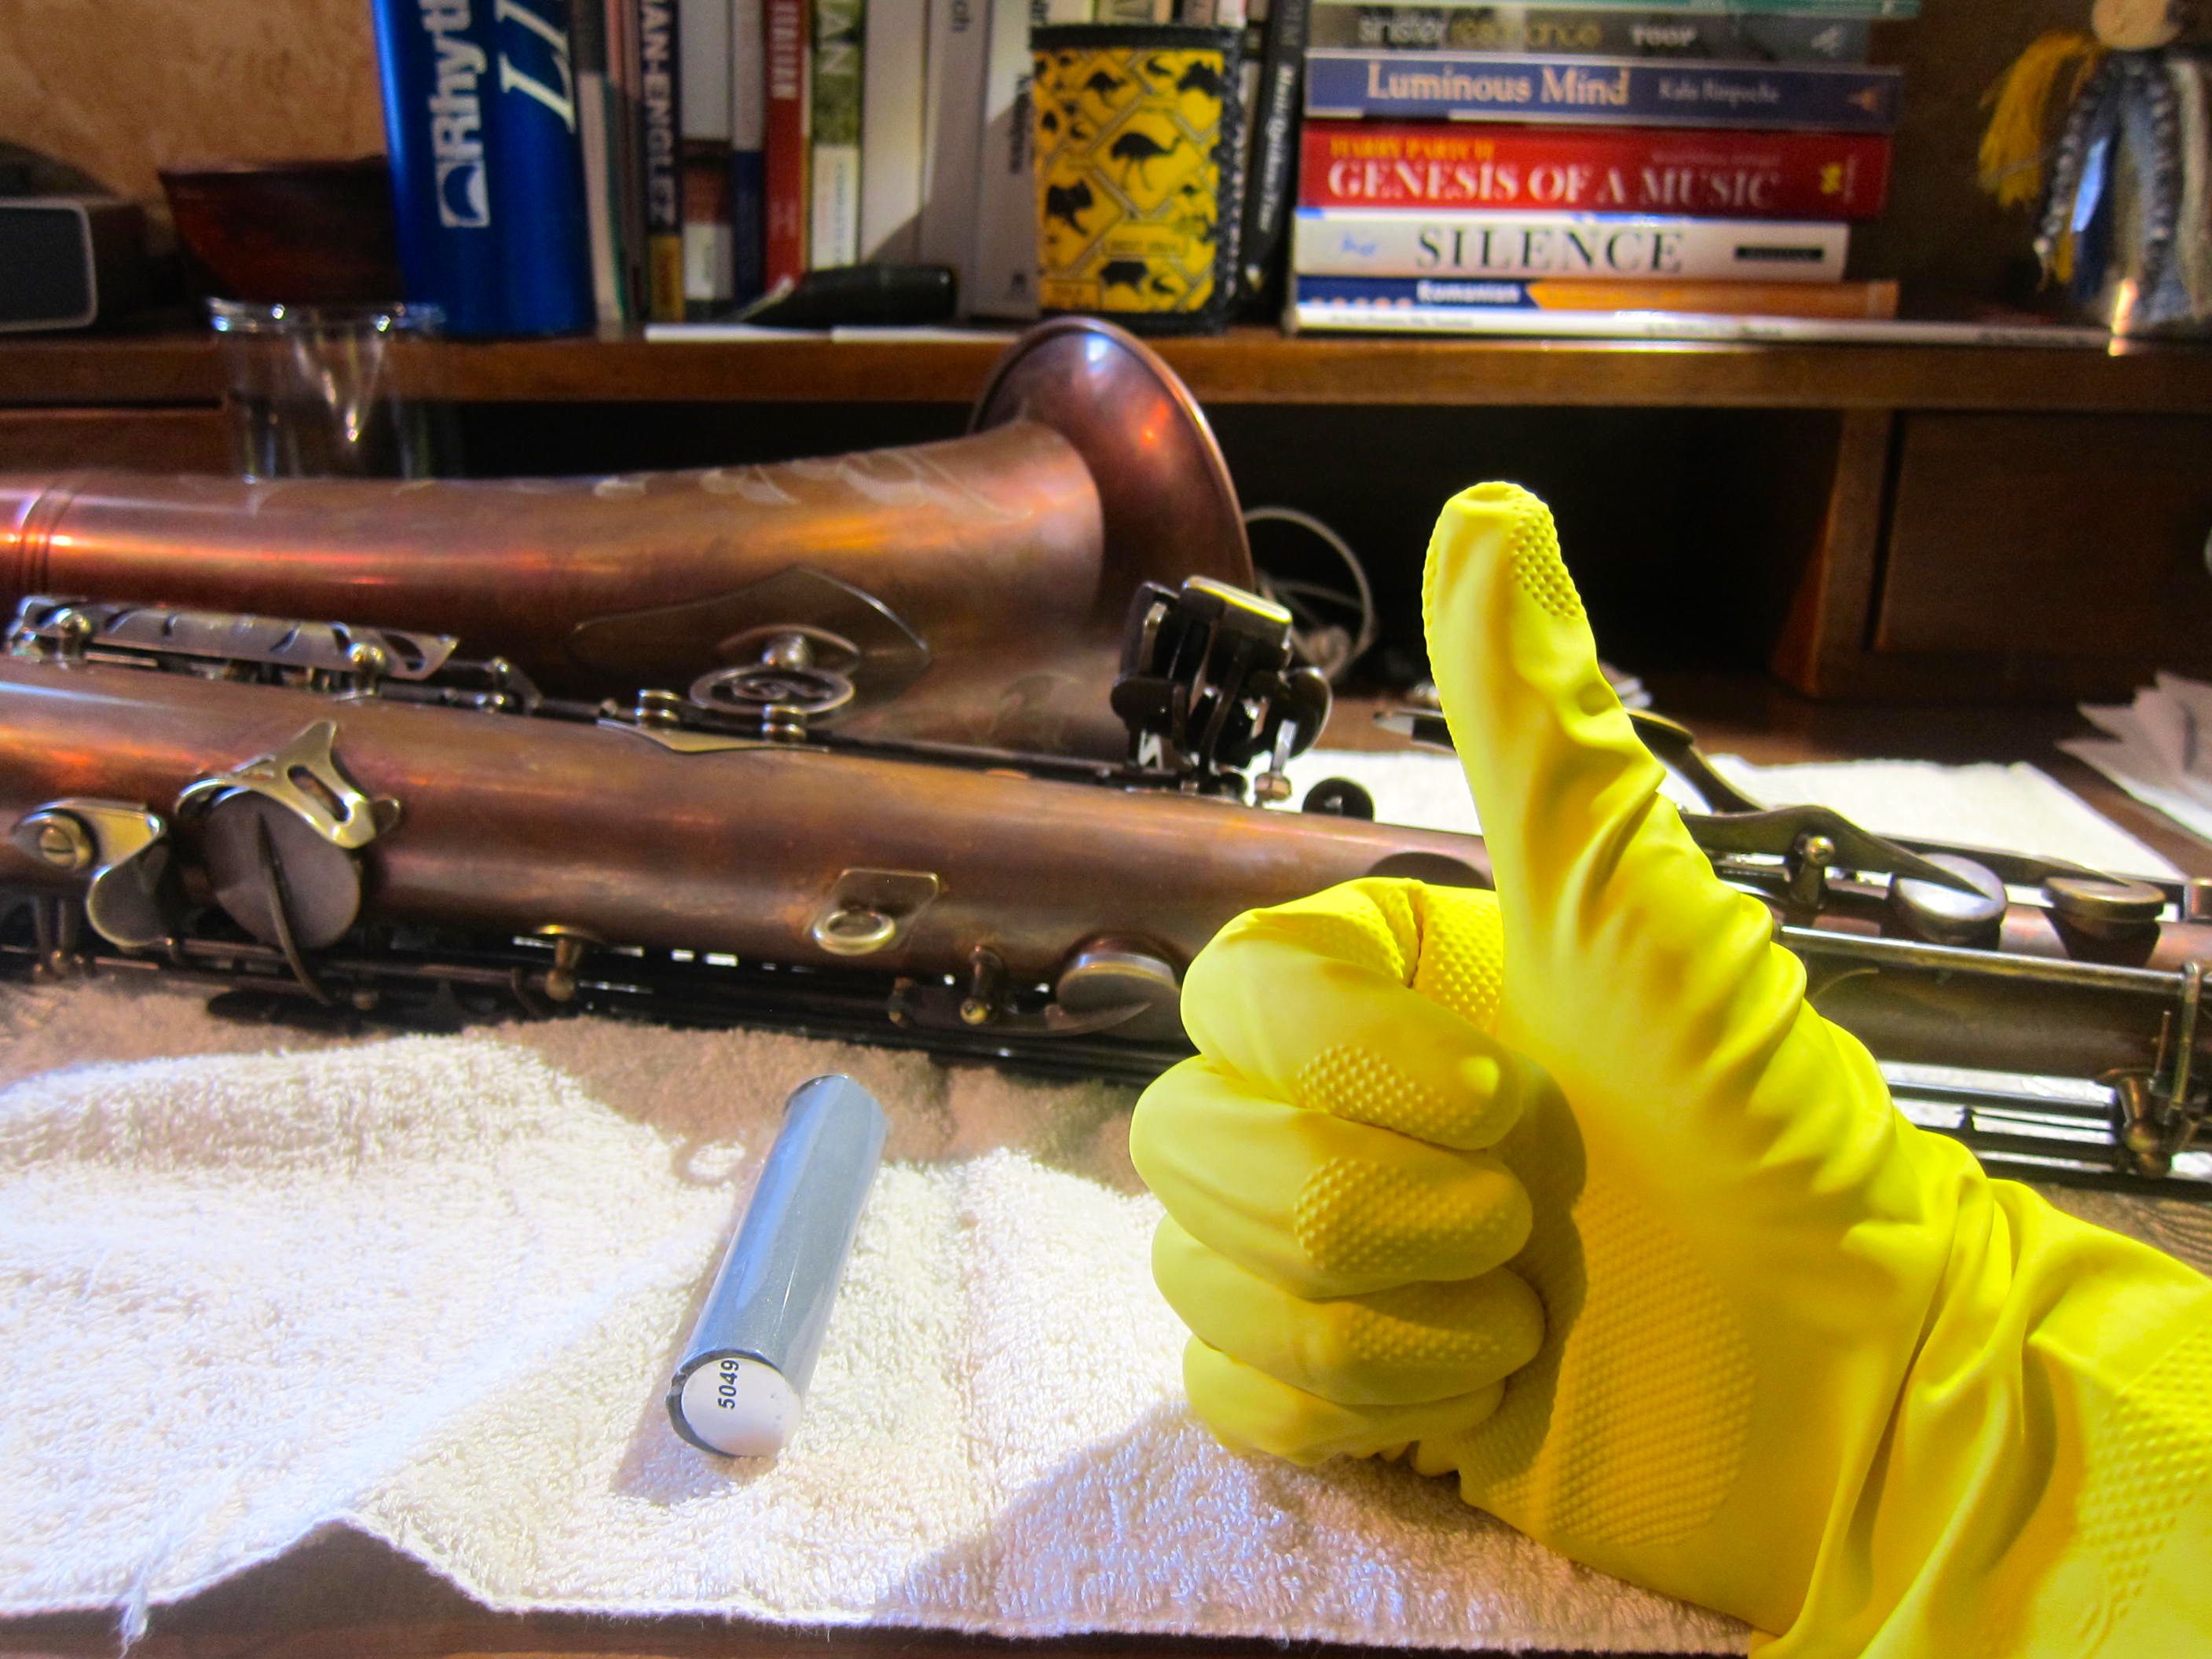
Step 2. Prepare you’re instrument/workspace. This stuff sets pretty quickly so you’ll need to make a workspace that is clear of obstructions. Lay the horn down with the palm keys up. I like to leave the keys on while doing this so that I can see how they will fit into the palm of my had when I’m holding the horn. You’ll need to make sure that the palm keys are clean, otherwise they might not bond with the epoxy.
I recommend wearing gloves as this stuff is pretty tenacious if you let it dry on your fingers!
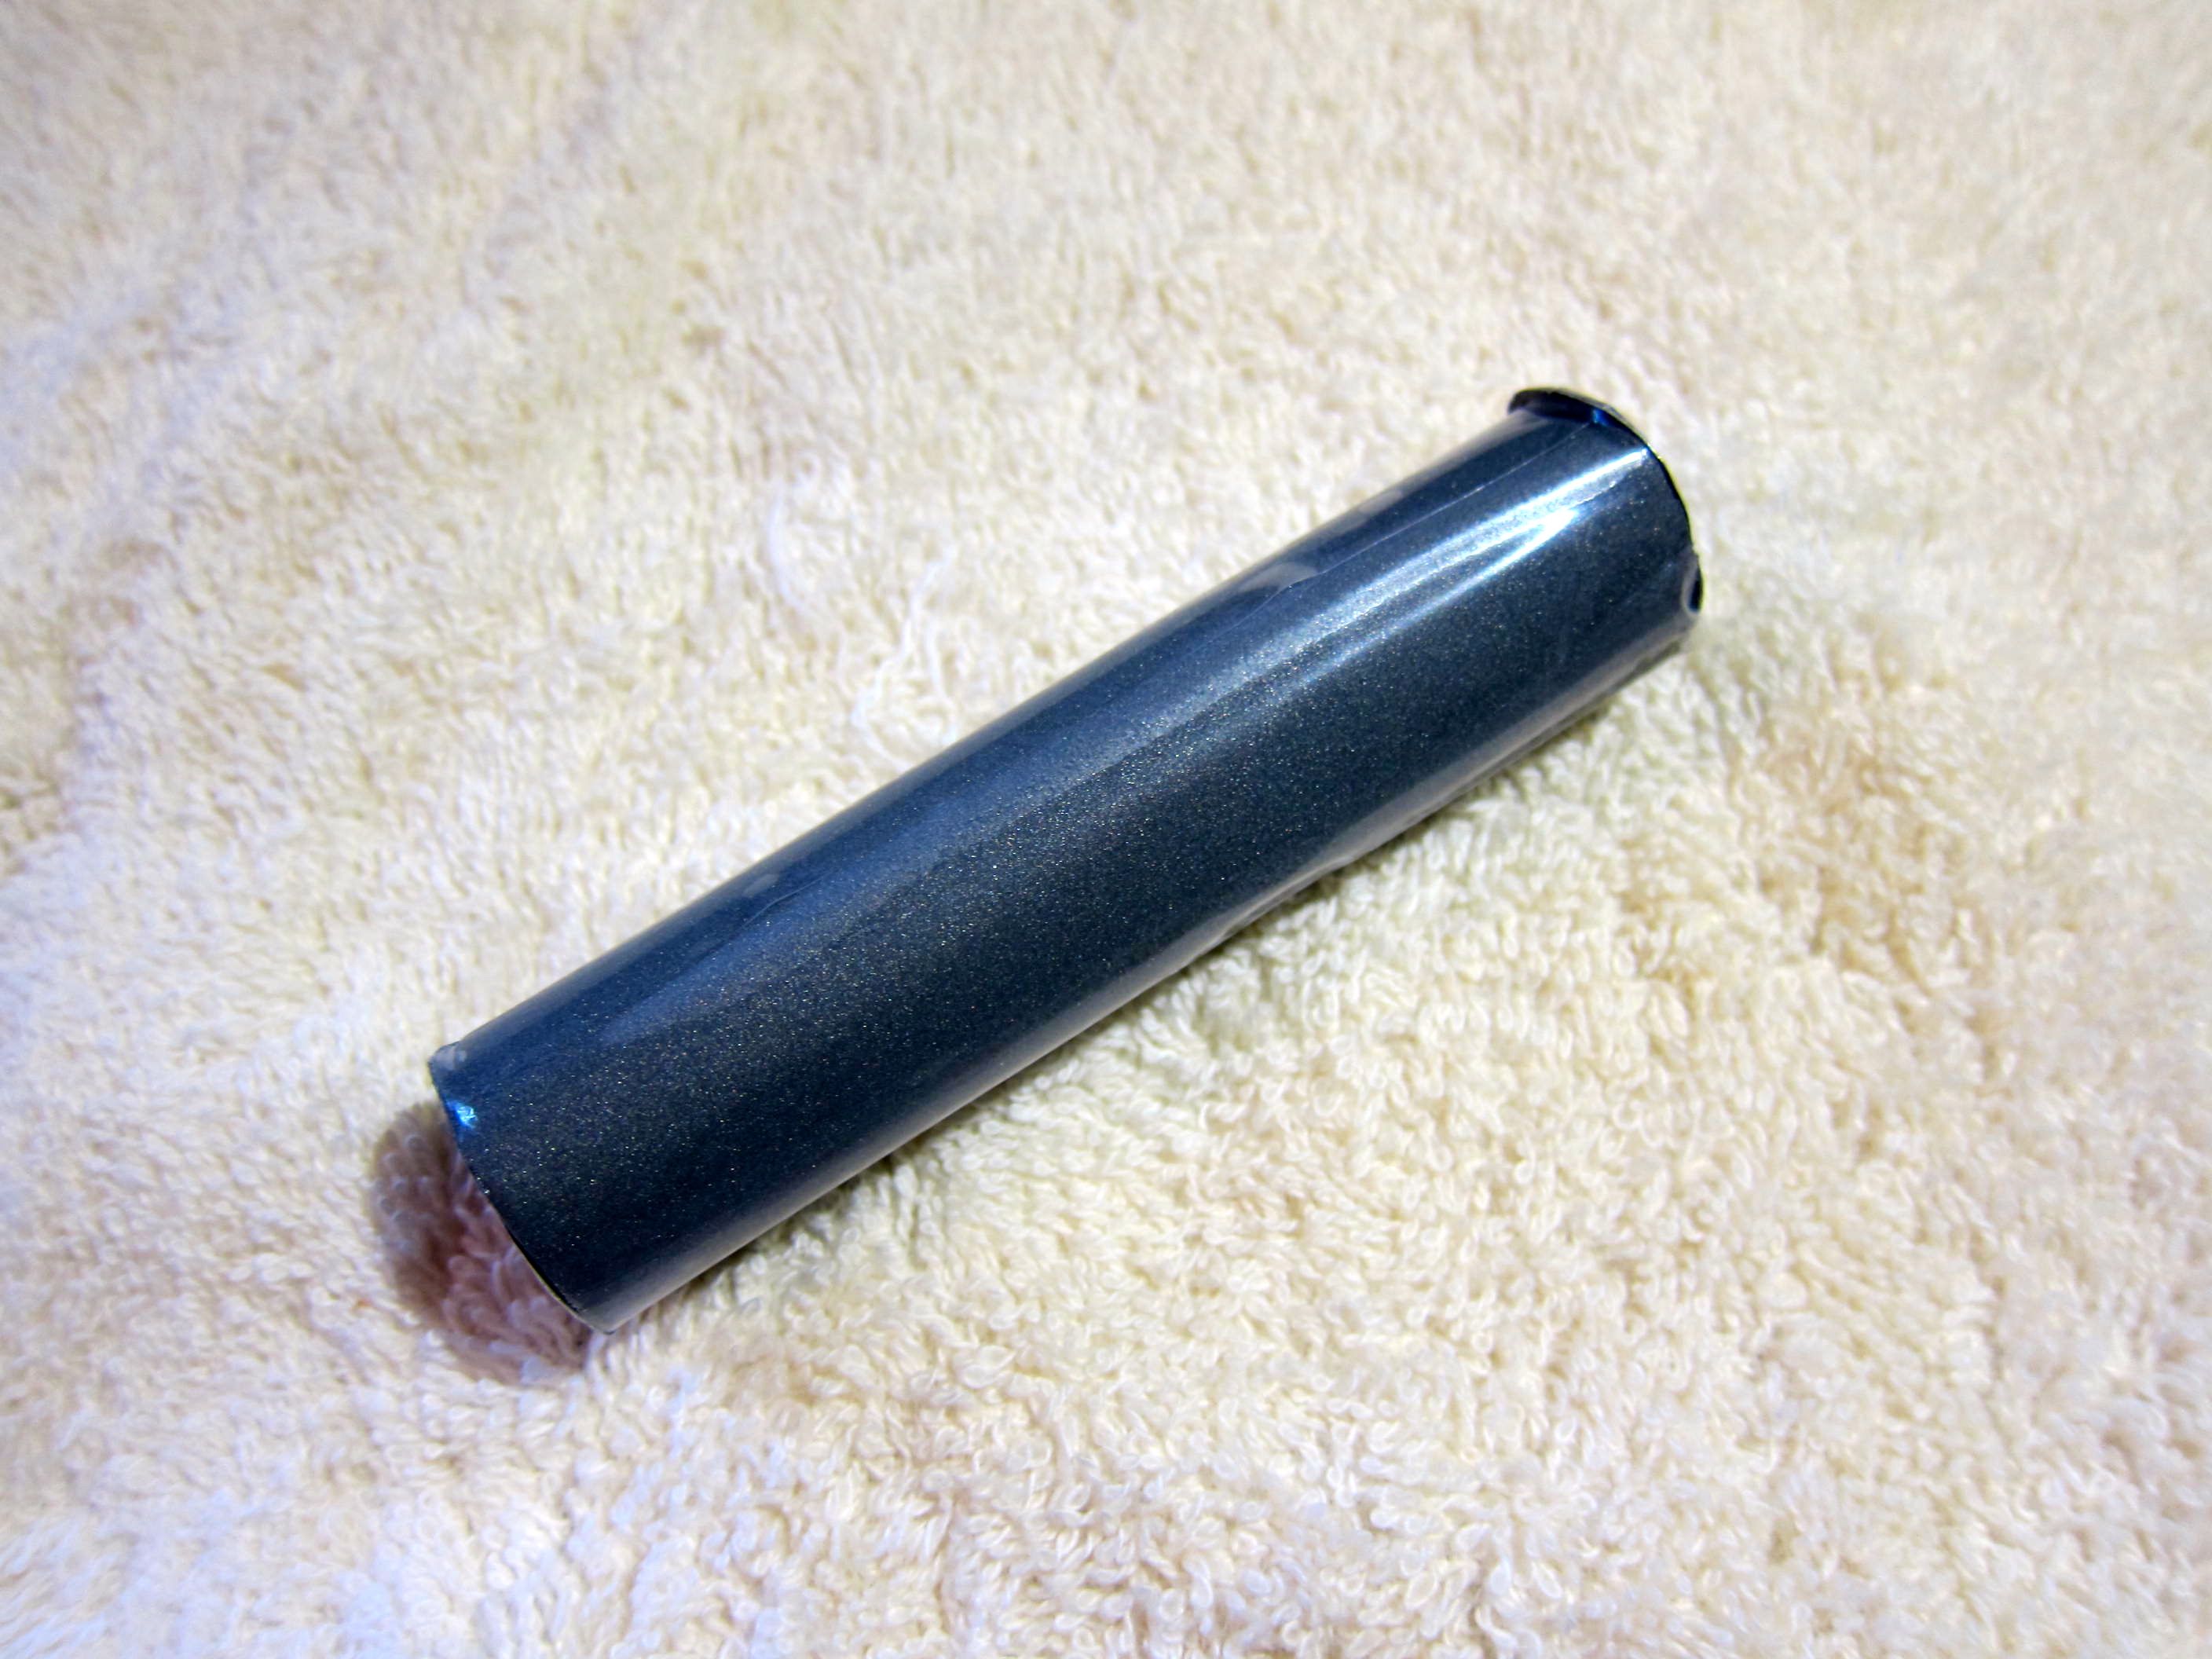
Step 3. Break off a piece of the putty about the right size for the extension you want to build. There are two different colors in the material. Mash them together until it is one uniform color. Once you’ve done this the material will begin to set so it’s important to work quickly now.
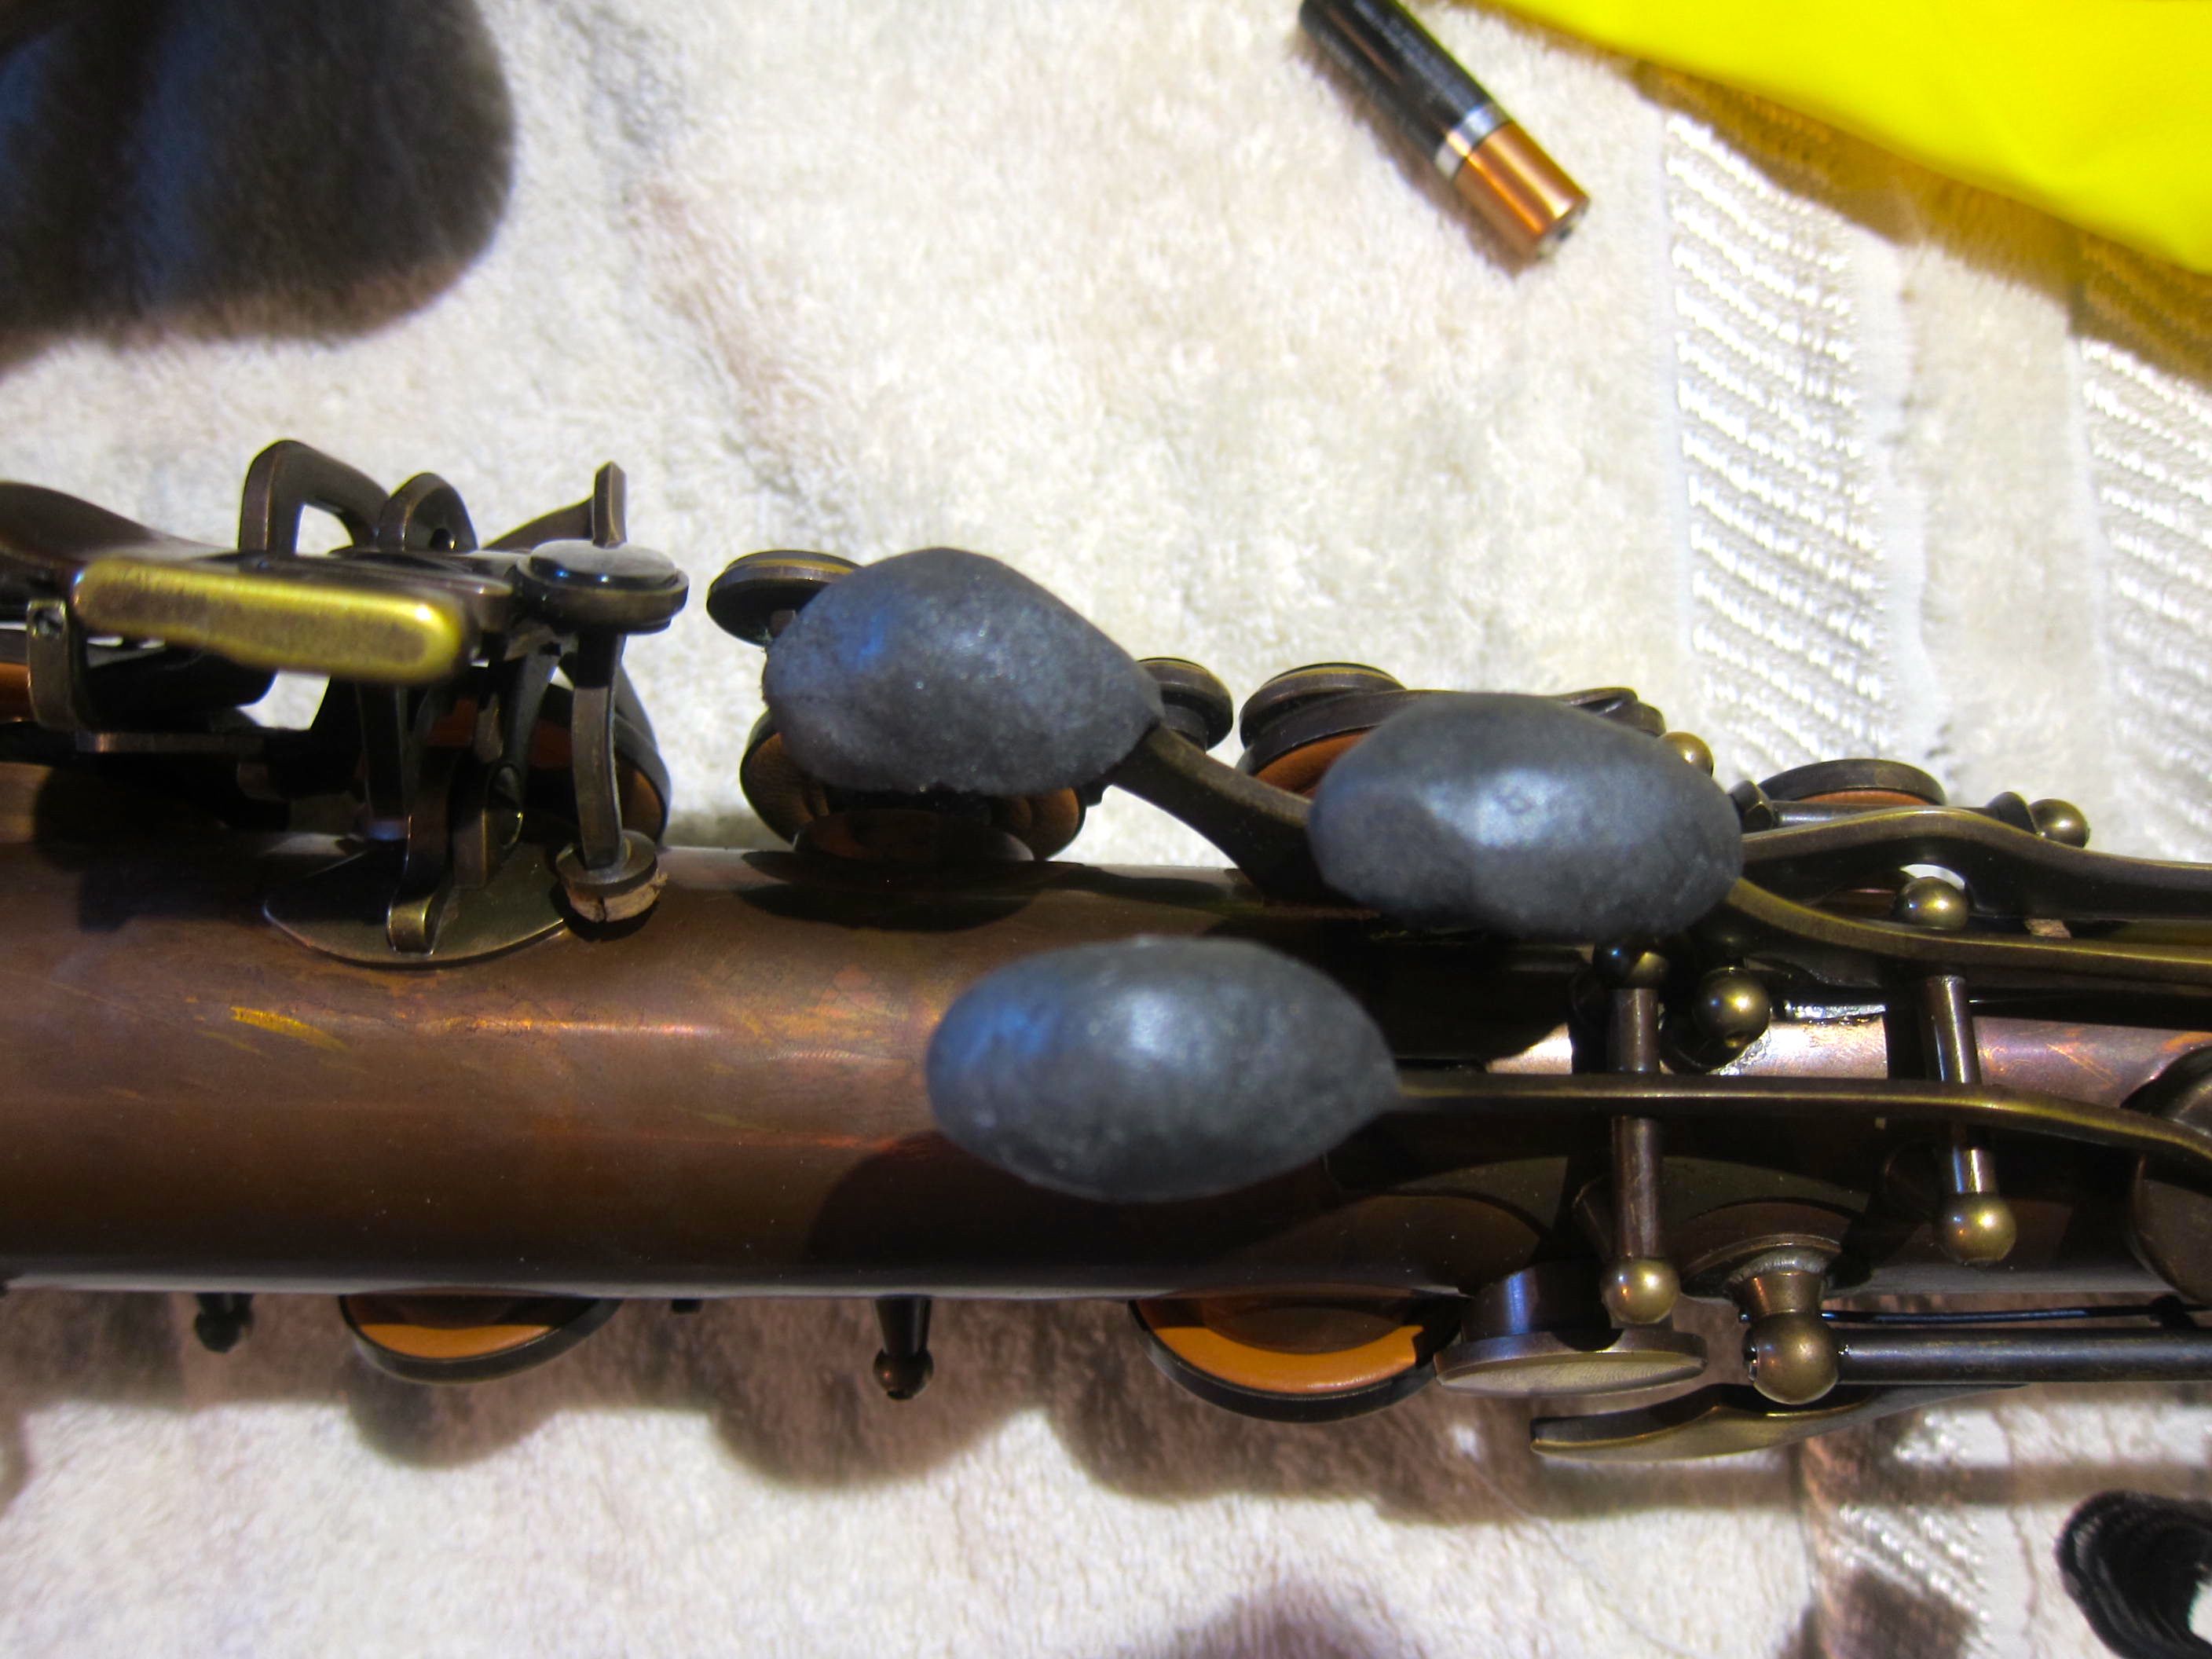
Push the material onto the D key first and shape it into the position you want. Make sure you wrap a little bit around the bottom of the key to make it more secure. Check your progress by putting your hand in position and seeing how the new key fits. Resist the urge to make the D key too high as this will hamper your playing later. All you really need is a little bit of a boost.
Step 4. Smooth out the surface and make exactly the profile you want. Make sure there aren’t any ridges or bumps where your fingers will be touching the keys. I like to use something round like a battery to roll over your work to smooth it out.

Don’t move on to the next key until you are completely satisfied with the first one because the material will not be moveable by the time you come back to it.
Finished products:
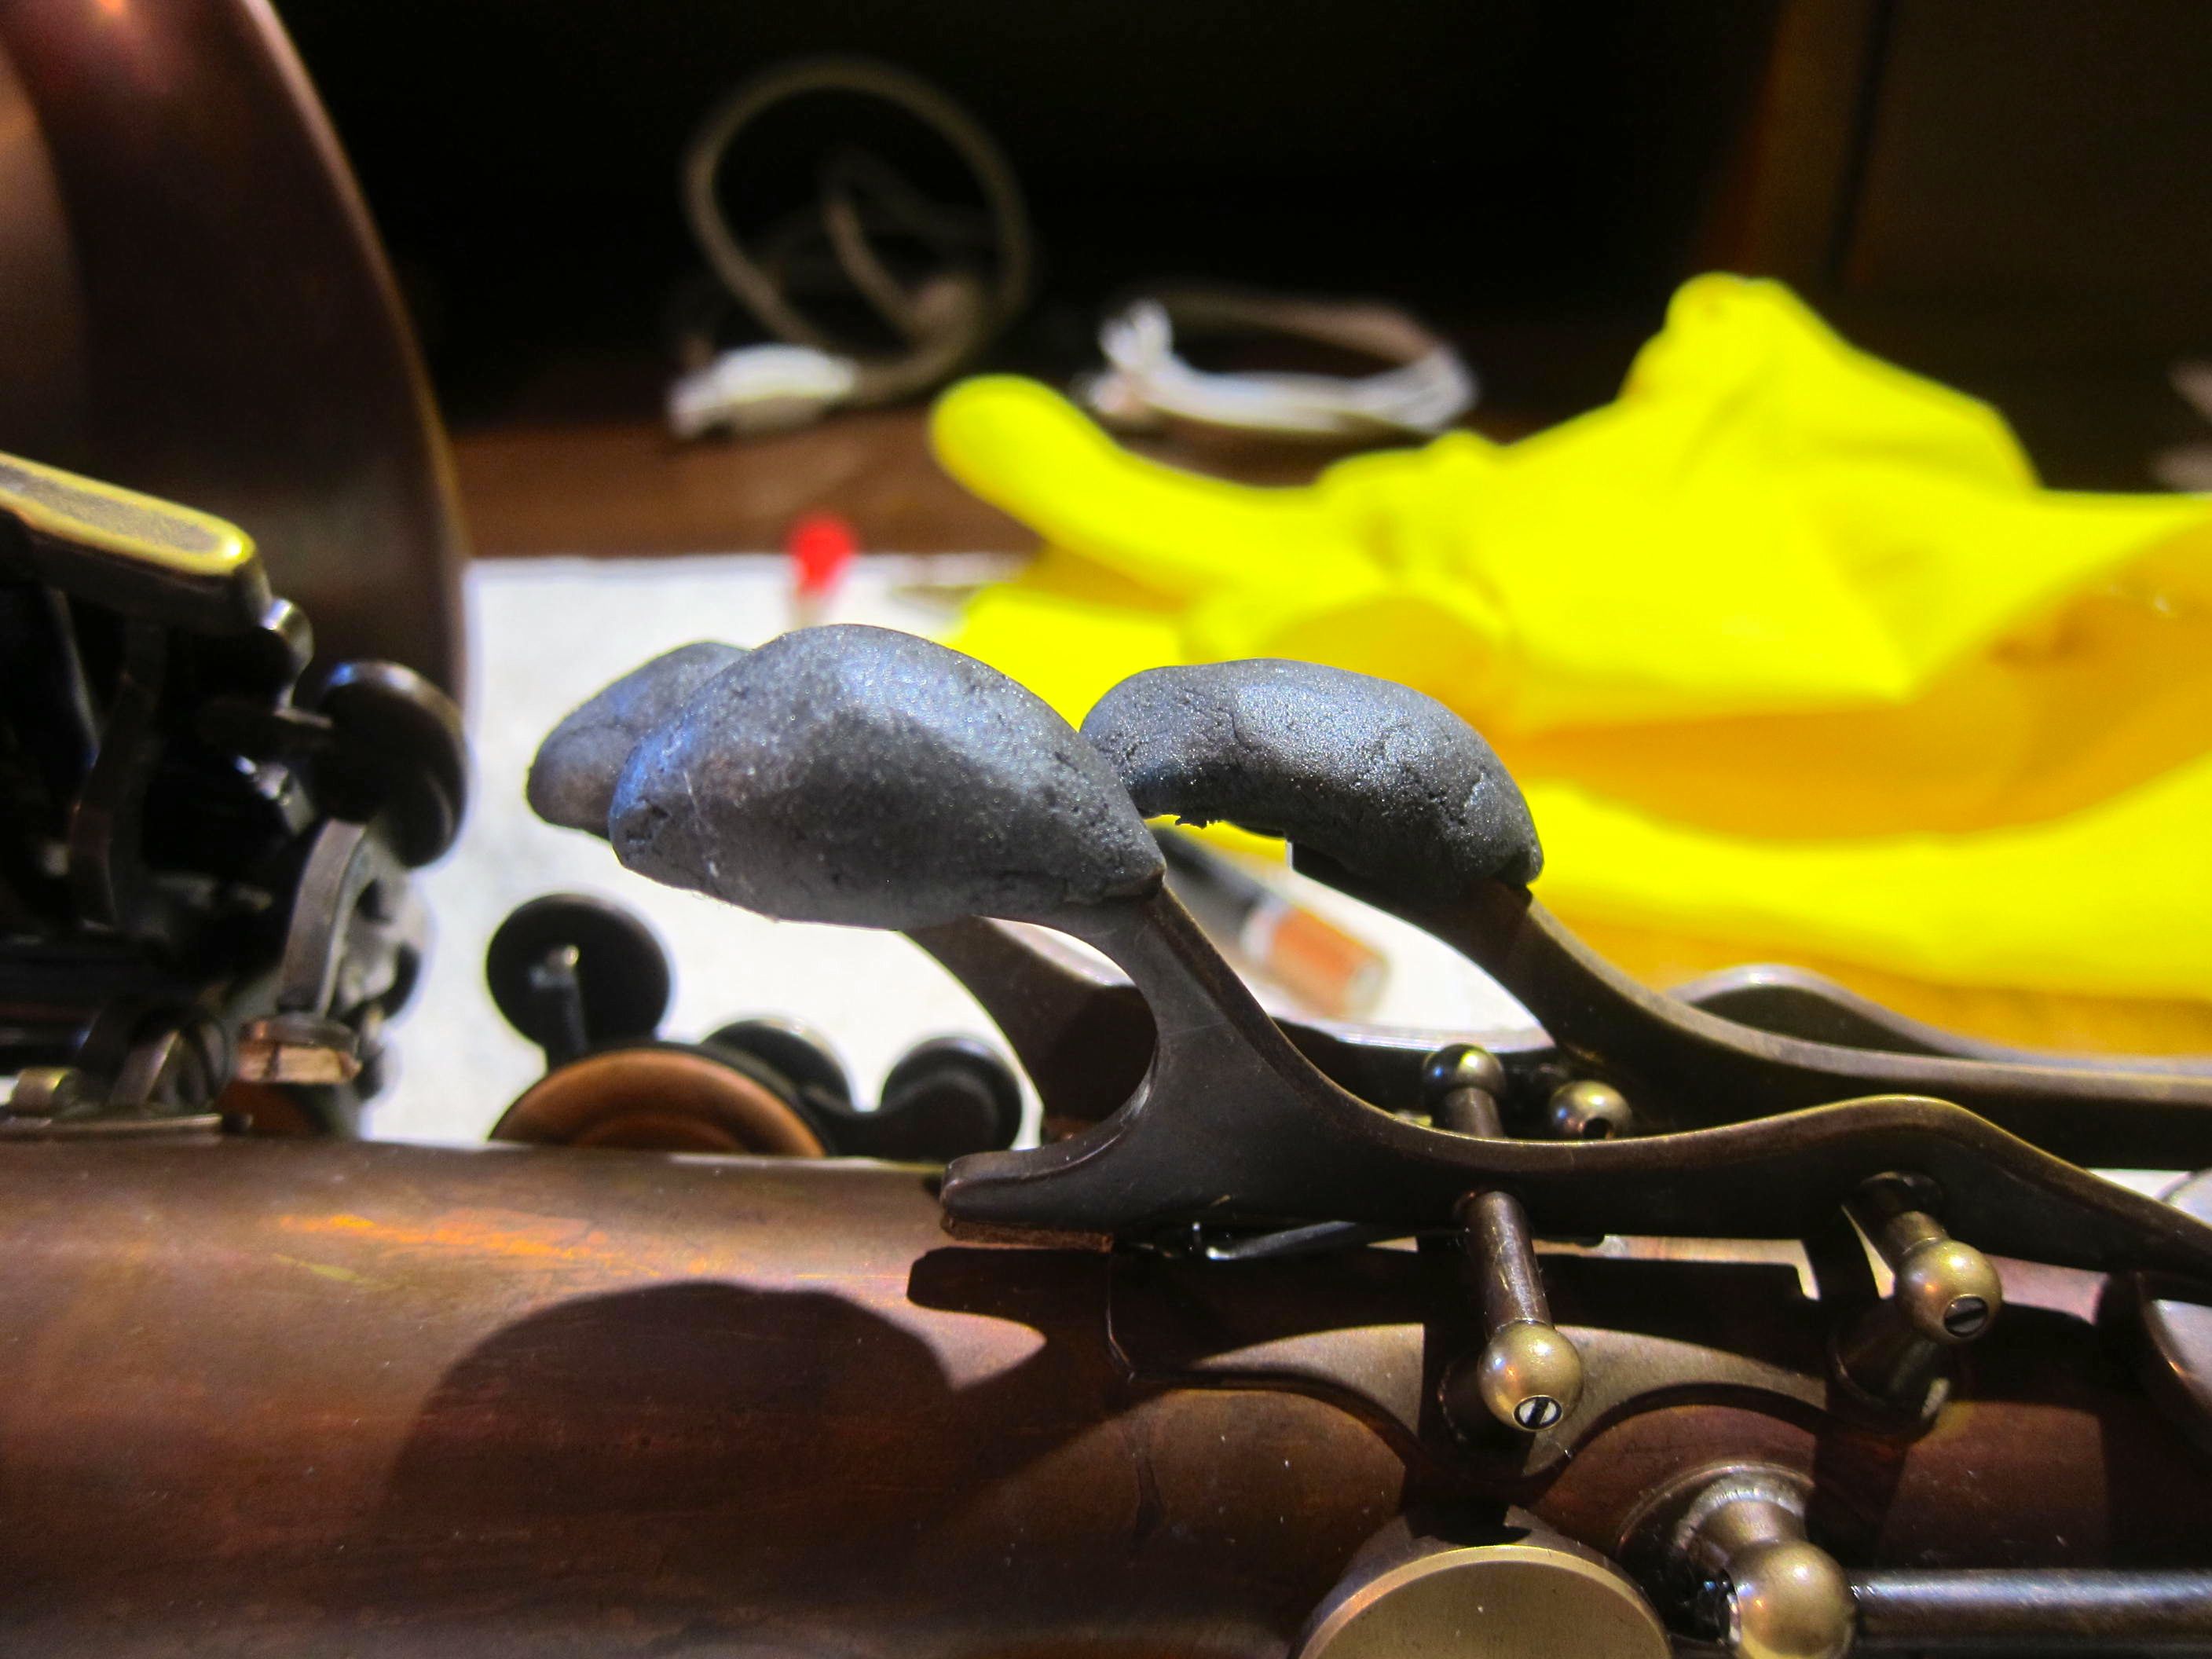
This is an easy project and it will make a world of difference on your horn if you’re not happy with your palm keys. Just work slowly and pay attention to detail. Once you’re done, let it sit for about 45 minutes or so and then you’ll have a permanent solution!

I like to use Sugru which is non toxic and you don’t need to wear gloves. It is easy to shape and comes in different colors. When dry you can still come back and shape it with a knife. Also it can still be removed after dry and start all over again if yo dont like it. Project can be done for about $10
LikeLike